暨大珠区有线校园网,部分区域用的是 802.1x 认证。学校网站也没提供珠区 802.1x 的 Linux 客户端。
珠区校园网客户端是 H3C 的 iNode,别的学校已经有大佬实现过这款 Linux 客户端了,可以拿来珠区用。
这里选用了这个:https://github.com/Besfim/inode-njit
1. 编译安装(Debian 11 为例)
- 安装编译所需的工具和库
|
1 |
apt install build-essential pkg-config dh-autoreconf libpcap-dev libssl-dev git |
- 下载源码
|
1 |
git clone https://github.com/Besfim/inode-njit.git |
- 编译
|
1 2 3 4 |
cd inode-njit autoreconf --install ./configure make -j$(nproc) install |
编译的程序会放到 /usr/local/sbin/njit-client
2. 认证
version 用 EN\x11V7.30-0536,version 的获取,见:https://github.com/bitdust/H3C_toolkit
|
1 |
/usr/local/sbin/njit-client 用户名 密码 网卡名 EN\x11V7.30-0536 Oly5D62FaE94W7 |
输出“Server: Success.”字样,说明认证成功:
3. 带宽叠加(可选)
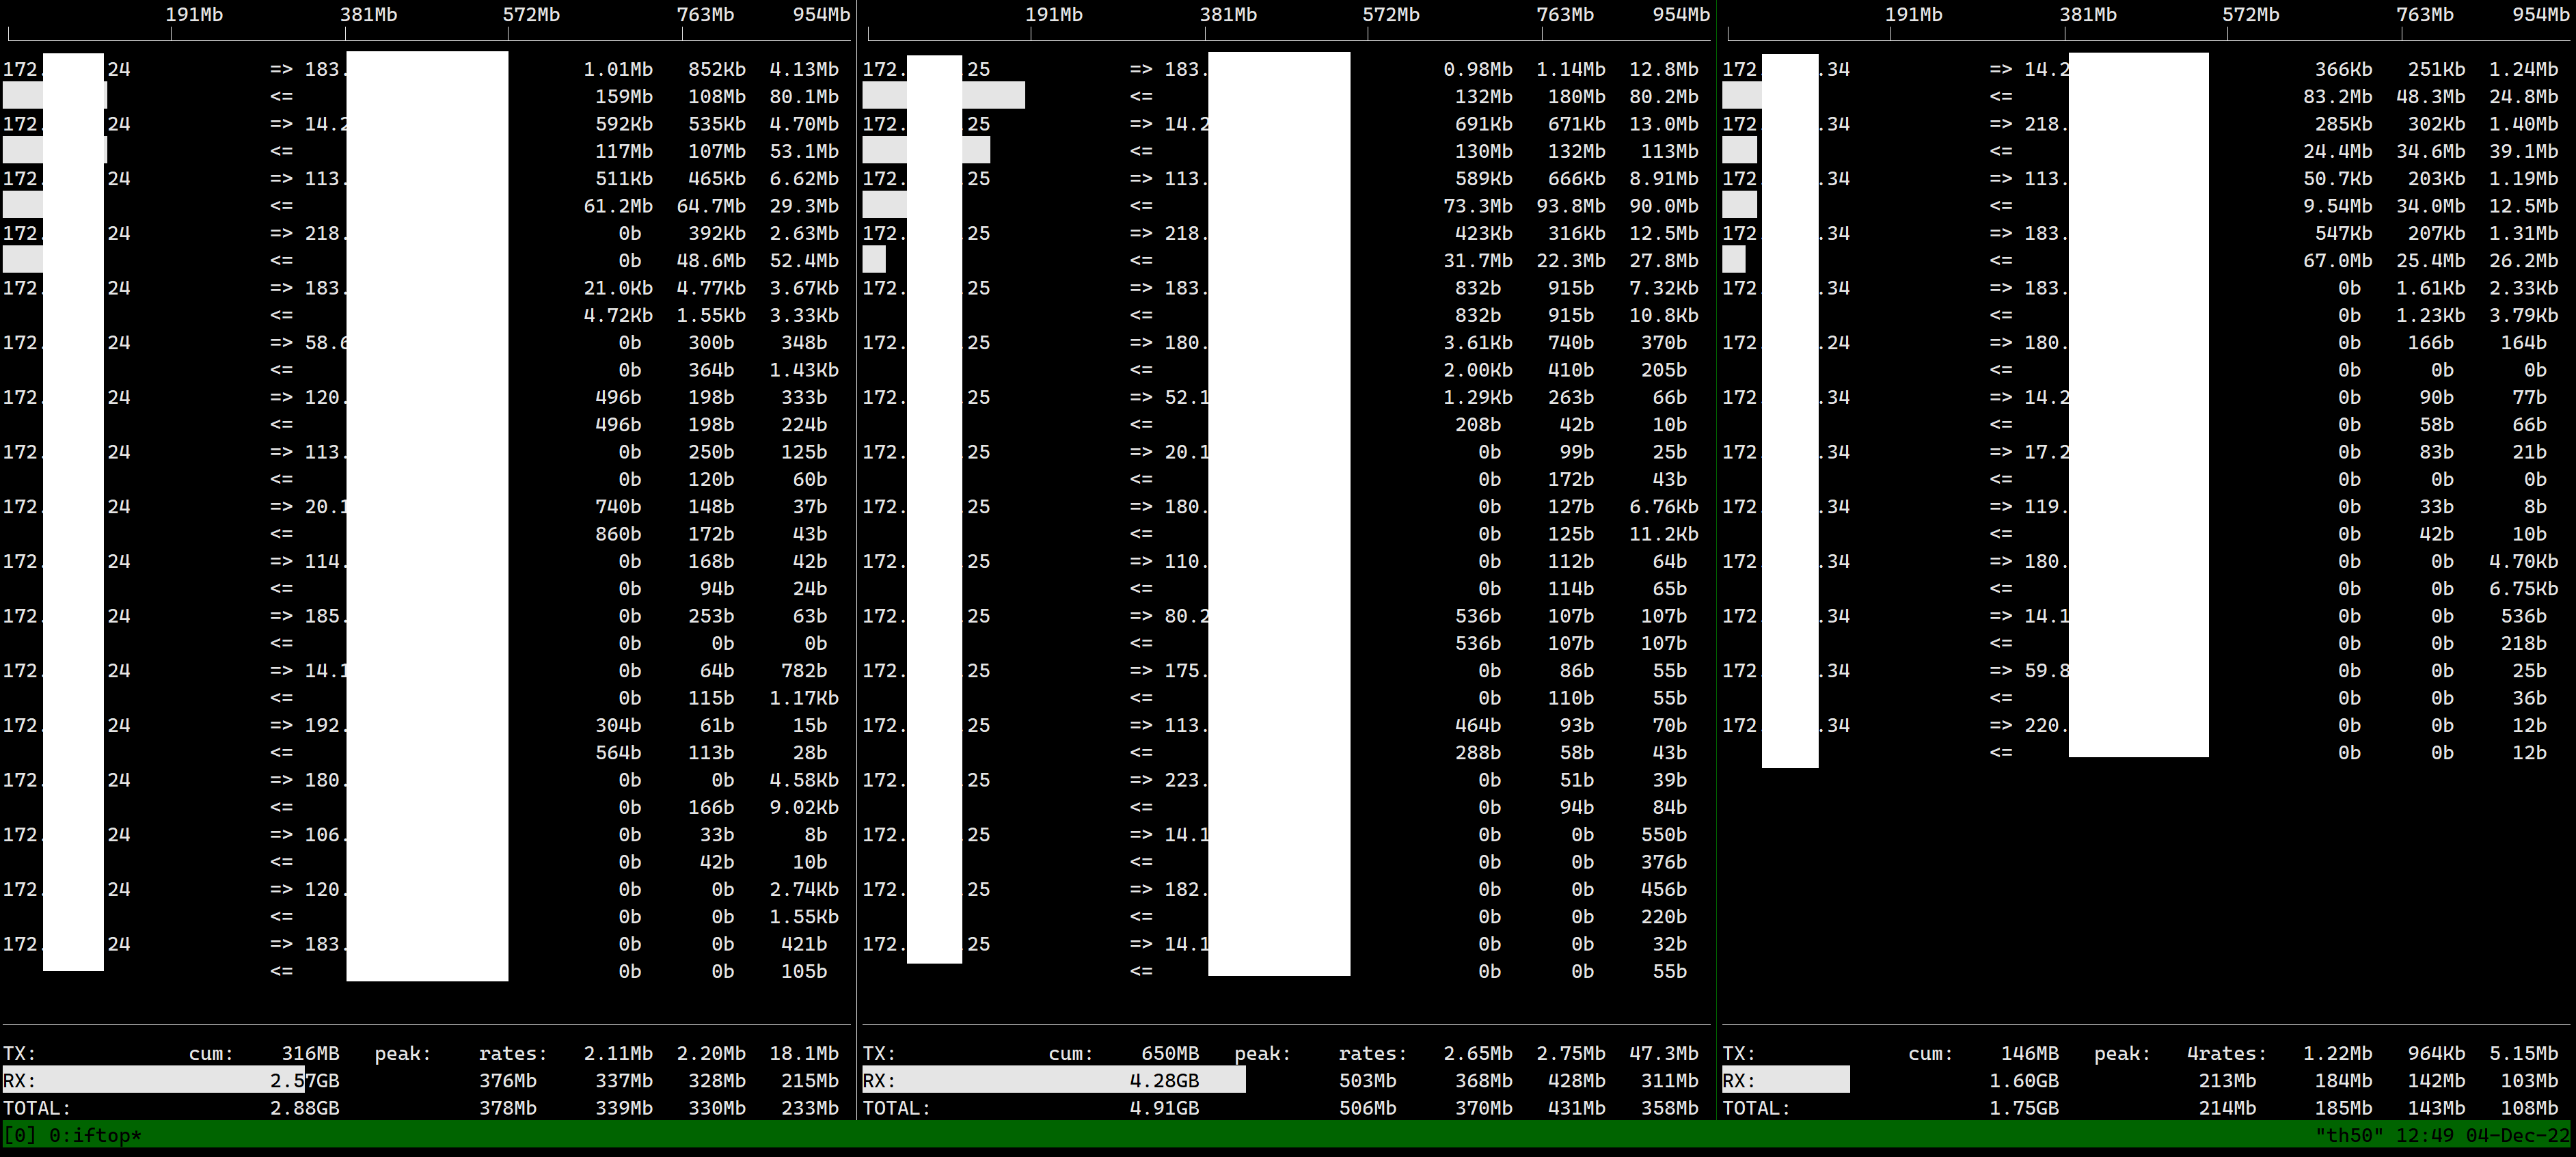
校园网限速上限 500Mbps,不同时段速度不一样,不过账号允许登录多次,可以用 macvlan 在路由器上登多个,叠加带宽。
- 修改下 arp 策略,只在绑定了对应 IP 的网卡上响应(默认会在任何网卡上响应系统已绑定的 IP 的 arp)
编辑 /etc/sysctl.conf,加入:
|
1 2 |
net.ipv4.conf.all.arp_ignore=1 net.ipv4.conf.all.arp_announce=2 |
然后应用:
|
1 |
sysctl -p |
- 创建 macvlan
这里提供一份 /etc/network/interfaces 的配置供大家参考,配置中创建了三个 macvlan,获取三个 IP,默认使用 peth0:
|
1 2 3 4 5 6 7 8 9 10 11 12 13 14 15 16 17 18 19 20 21 22 23 24 25 26 27 28 29 30 |
auto peth0 iface peth0 inet dhcp # 这里设置的 metric 最小,所以默认是用这个 metric 10 # 创建 macvlan,其中 eth0 是接校园网的网卡,自行修改 pre-up ip link add link eth0 ${IFACE} type macvlan # 这个 setup-route-table 在下面提供 post-up /usr/bin/setup-route-table ${IFACE} 20 # 每个 macvlan 的 mark 和 table 都不一样 post-up ip rule add fwmark 80 lookup 20 priority 32760 post-down ip link del ${IFACE} post-down ip rule del fwmark 80 auto peth1 iface peth1 inet dhcp metric 15 pre-up ip link add link eth0 ${IFACE} type macvlan post-up /usr/bin/setup-route-table ${IFACE} 21 post-up ip rule add fwmark 81 lookup 21 priority 32760 post-down ip link del ${IFACE} post-down ip rule del fwmark 81 auto peth2 iface peth2 inet dhcp metric 18 pre-up ip link add link eth0 ${IFACE} type macvlan post-up /usr/bin/setup-route-table ${IFACE} 22 post-up ip rule add fwmark 82 lookup 22 priority 32760 post-down ip link del ${IFACE} post-down ip rule del fwmark 82 |
- 上面用到的 /usr/bin/setup-route-table 的内容,主要把从 DHCP 获取到的网关添加到另一个路由表中
|
1 2 3 4 5 6 7 8 9 10 11 12 13 |
#!/bin/bash nic=${1} table=${2} address=$(ip addr show dev ${nic} | grep 'inet ' | awk '{print $2}' | cut -d '/' -f 1) gateway=$(ip route show dev ${nic} | grep "default" | awk '{print $3}') if [ "${address}" == "" ] || [ "${gateway}" == "" ]; then echo "address or gateway not found" exit 1 fi ip route add default via ${gateway} dev ${nic} table ${table} |
- 为 peth 配置 SNAT
|
1 2 3 |
for nic in peth0 peth1 peth2; do iptables -t nat -A POSTROUTING -o ${nic} -j MASQUERADE done |
- 配置负载均衡
|
1 2 3 4 5 6 7 8 9 10 11 12 13 14 15 16 17 18 19 20 21 22 23 24 |
# PETH1_MARK 和 PETH2_MARK 用于标记数据包走哪个 peth # 这里没有 peth0 的,因为上面设置了默认走 peth0 iptables -t mangle -N PETH1_MARK iptables -t mangle -A PETH1_MARK -j MARK --set-mark 81 iptables -t mangle -A PETH1_MARK -j CONNMARK --save-mark iptables -t mangle -N PETH2_MARK iptables -t mangle -A PETH2_MARK -j MARK --set-mark 82 iptables -t mangle -A PETH2_MARK -j CONNMARK --save-mark # 下面的 APPLY_MWAN 为新连接选出口 iptables -t mangle -N APPLY_MWAN ## 不对 icmp 应用负载均衡 iptables -t mangle -A APPLY_MWAN -p icmp -j RETURN iptables -t mangle -A APPLY_MWAN -m state --state ESTABLISHED,RELATED -j CONNMARK --restore-mark iptables -t mangle -A APPLY_MWAN -m mark ! --mark 0 -j RETURN ## 负载均衡 iptables -t mangle -A APPLY_MWAN -m state --state NEW -m statistic --mode nth --every 3 --packet 0 -j PETH2_MARK iptables -t mangle -A APPLY_MWAN -m state --state NEW -m statistic --mode nth --every 2 --packet 0 -j PETH1_MARK # 应用负载均衡,假设 eth1 接的是走此路由器联网的机器 # 要先排除一下不需要走 peth 发出的包,例如 eth1 所在的网段,假设是 192.168.1.0/24 iptables -t mangle -A PREROUTING -i eth1 -d 192.168.1.0/24 -j RETURN iptables -t mangle -A PREROUTING -i eth1 -j APPLY_MWAN |
- 效果

